I’ve had this project in my mind for some time and couldn’t work out some of the finer details ‘on paper’ so this weekend, whilst carpeting and ‘properly’ installing my tailgate ply and blind, I decided to just give it a go with some ripstop nylon that I had lying about. Pretty happy as a v1, it will serve as a template/prototype if nothing else.
The Tailgate vs Barn Doors debate will divide the VW community ad infinitum; I’m in camp Tailgate for its immediate provision of shelter from above (plus Shuttles only really come with Tailgates and I think they look nicer 😲!). Anyone in camp Barn Door may tell you they like the shelter/privacy from the sides as well as the convenience of opening in confined spaces etc etc… As with most things in life, there is a compromise; I wanted some extra protection from the sides against light rain and breezes so this style of Tailgate awning seemed the obvious choice to me.
Requirements;
- Simple to deploy.
- Stored in place.
- Usable on hardstanding/tarmac (no pegs required).
- Easy to pack away by one person.
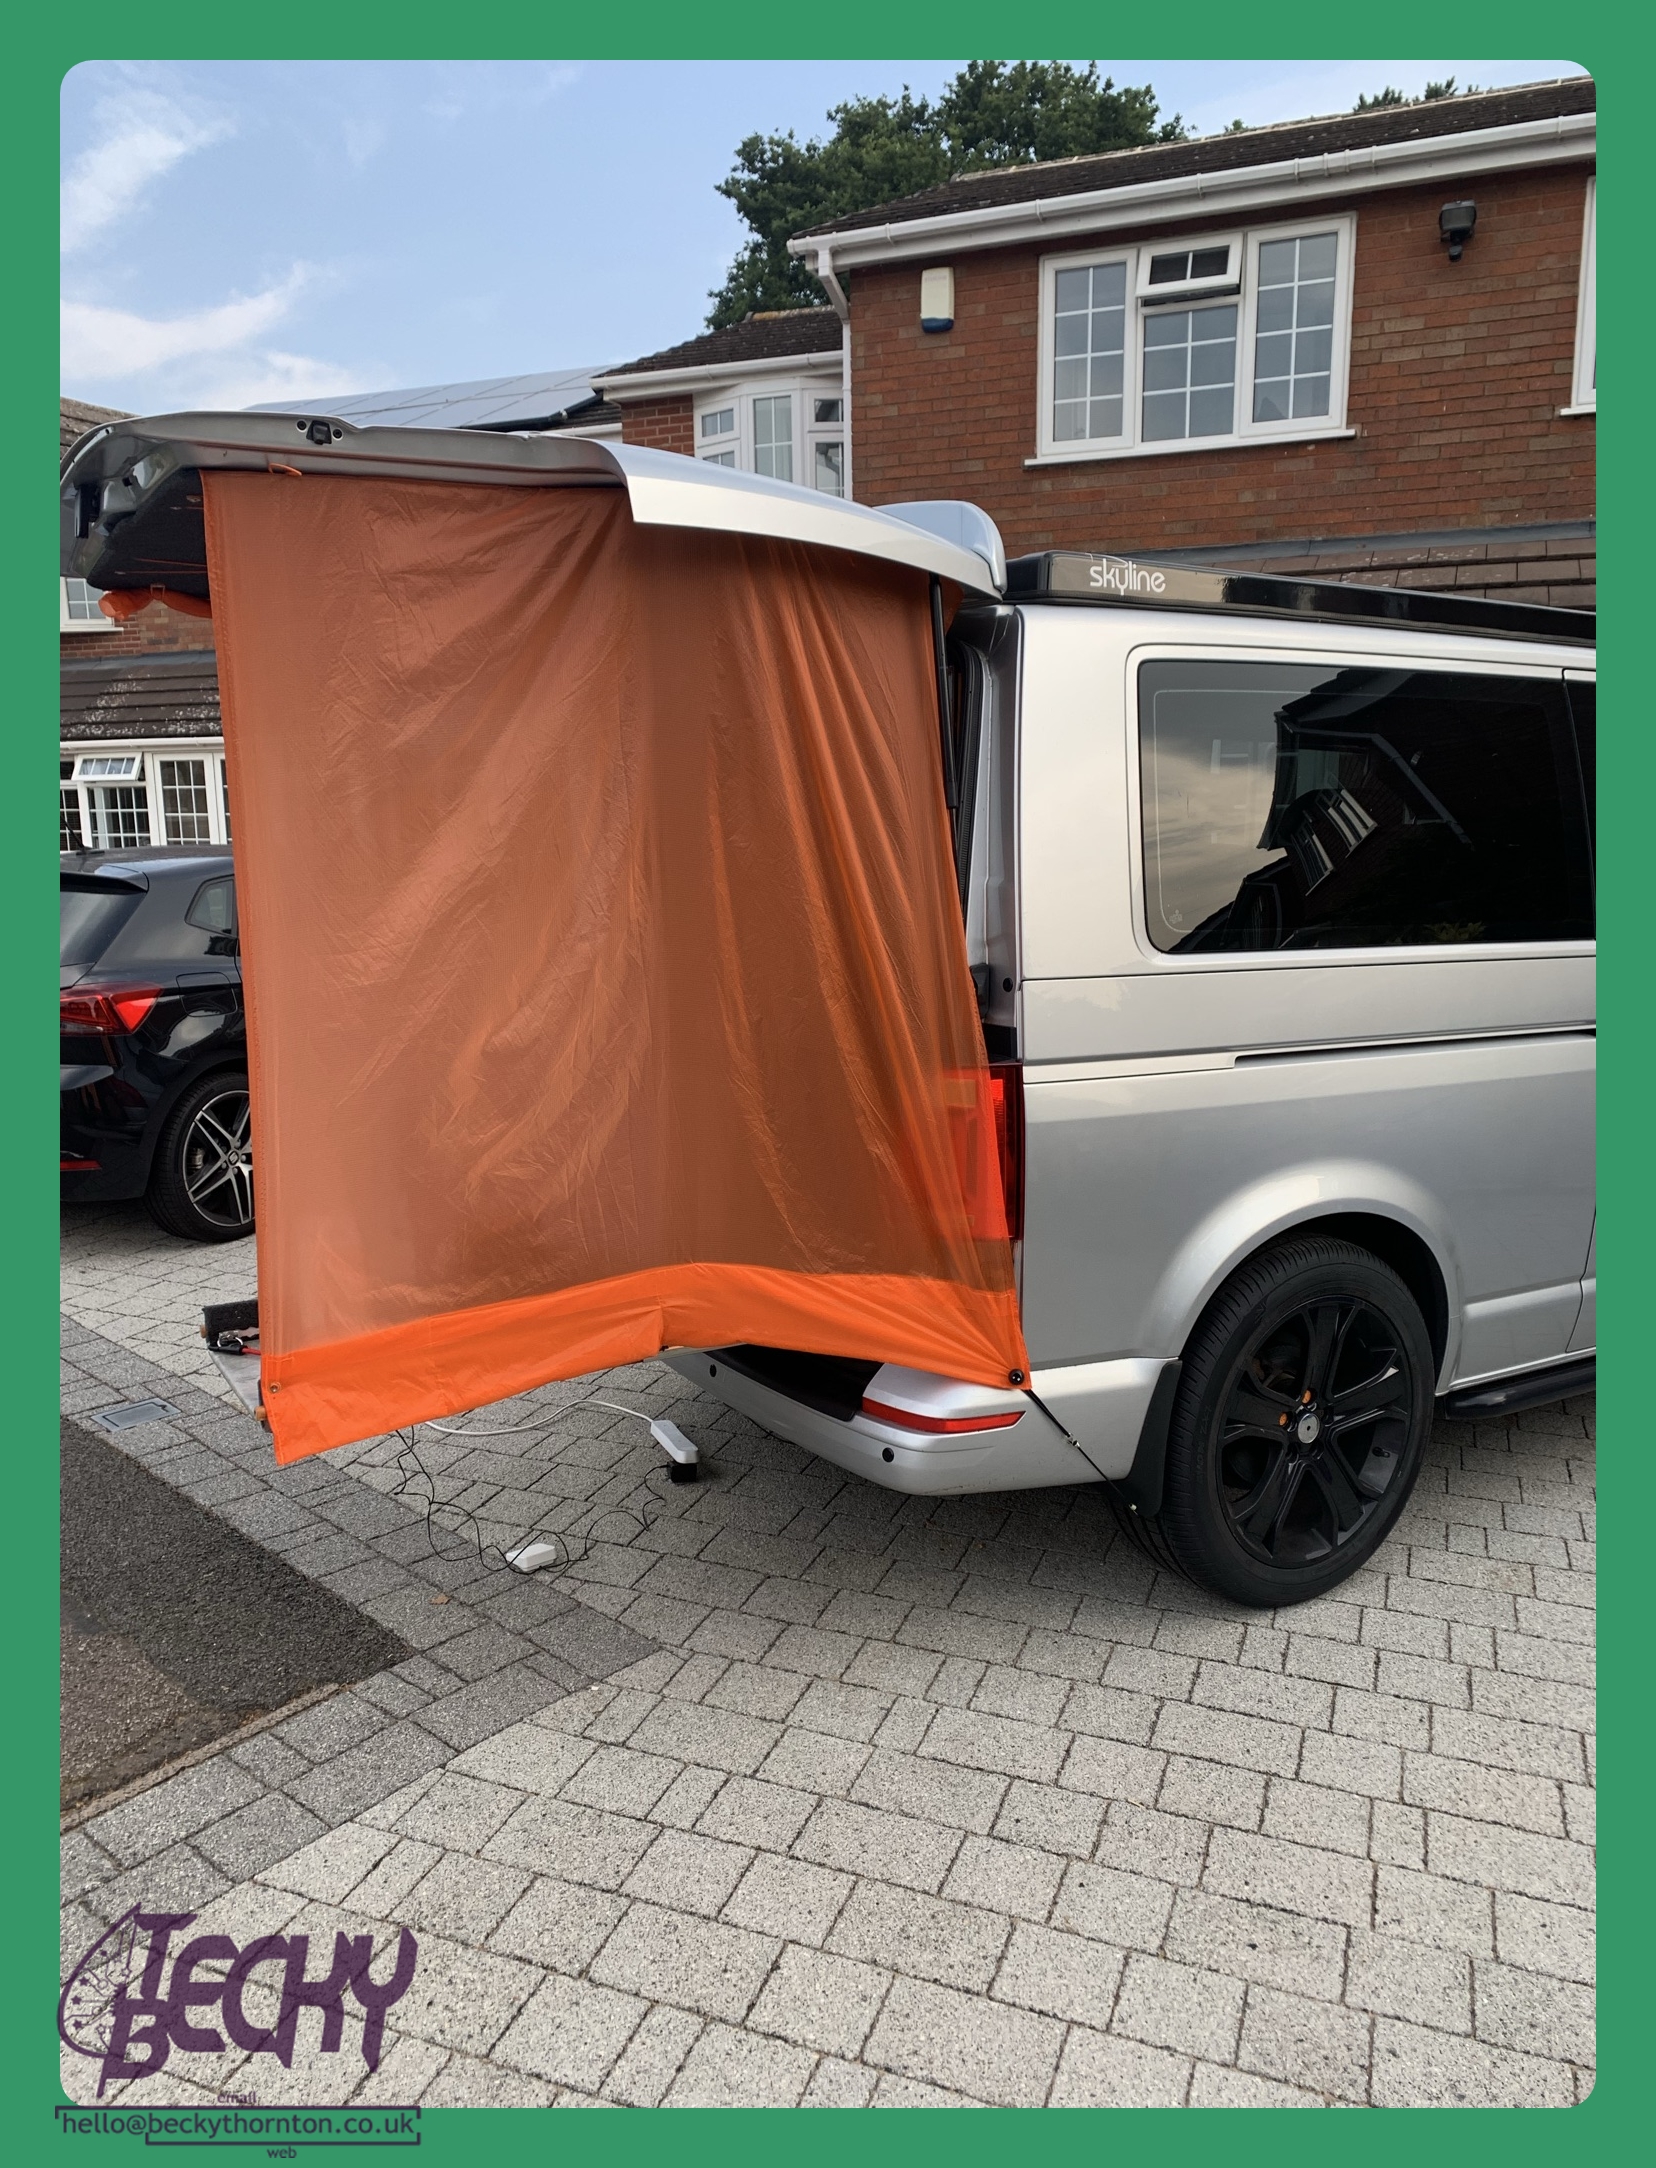
Overview
It’s a long piece of ripstop nylon, sandwiched between the Tailgate and the plywood panel with eyelets (for optional pegs) and a pocket (to hold a weight).
Details
I had some ripstop nylon knocking around from an abandoned project so I don’t have any details to hand (pretty sure it came from eBay!). It’s quite thin and lightweight which was good for requirement 2, but may count against 3 in heavy wind. I think it’s about 5m long, by about 1.5m wide.

I laid out my tailgate ply panel and centered the whole piece of nylon on top of it.

I then taped it down to hold it temporarily in place before marking the location of the ply mounting holes/release cutouts with a pen. This then allowed me to melt holes with a soldering iron in the right places, thus sealing the edges from fraying.

I added some bolts, leather washers, tee-nuts, and elastic loops to hold the rolled-up material.

I then cut out and sealed the aperture for the window and installed my blind on top of the nylon. The blind and its brackets help hold the nylon in place.

Once the ply is installed it stays in place nicely and rolls up very easily! I hemmed the ends in situ (I’m sure the neighbours enjoyed my ‘sewing machine in the driveway’ antics!) as I needed to get the right height and I didn’t want to have to take it all down again to sew it.
Improvements
This list will grow as I use it I am sure, but for now, I can see that;
- It needs some darts for shape adding so it’s less billowy and look a bit neater and I may add some magnets along the edge so it can stick to the bodywork.
- It’s also not removable for washing and I have a minor concern that it may wick water into the tailgate so think I’ll add a zip around the edge of the tailgate.
- I’d also like to add a third side so it’s completely wraparound. Possibly a window…
- I’m not sure how well that material will hold up as it’s quite thin.
But it works for now and I will learn more about using it to make v2 even better.